
I’ve been making these coasters as part of my stock for the craft market that I’m going to next week (the Durban I Heart market). They’re totally cute and fun to make; and if you have access to a laser cutter, you can make them too.
HERE’S WHAT YOU’LL NEED
Laser cutting file. (Download the Pompom Coaster cutting file)
3mm thick wood (I used pine)
Clear varnish
2.5mm crochet hook
Scissors
Yarn sewing needle
Yarn in Double knit weight (Light Worsted / 8ply/ 11wpi)
Yardage: 11m
CROCHET SKILLS REQUIRED
Single crochet (SC)
Slip stitch (SS)
Chain (ch)
Crochet pompom. Need help? Here’s a tutorial on how to crochet a pompom (by Once Upon a Pink Moon).
Let’s get started…
The downloadable cutting file is in SVG format, and can be used with any popular drawing program like Corel or Illustrator to have your coasters laser cut. They must have a diameter of 90mm.

I sprayed my coasters with a layer of matte varnish to make them stain resistant and easy to clean.
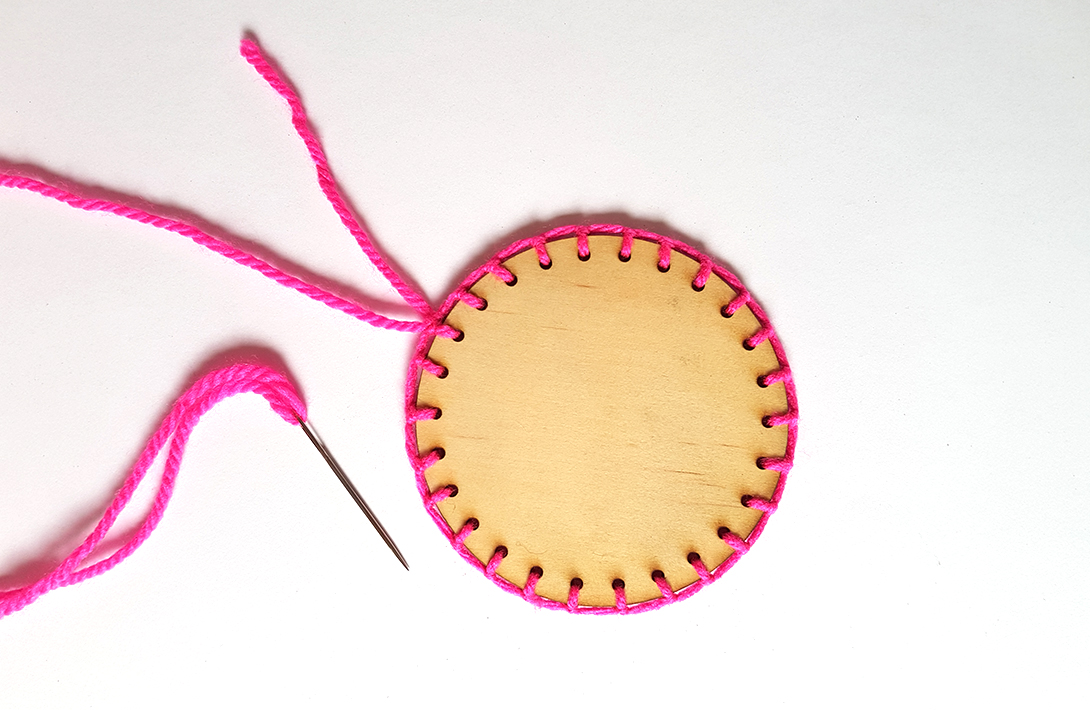
When the paint is dry, sew a blanket stitch into each hole, all the way around the coaster. You’ll use about 1m of yarn for this part. If you need help with the blanket stitch, check out this tutorial.

Using a 2.5mm hook, work 2 SC into each blanket stitch space. Work the yarn tail in as you go. When you reach the end, join to the 1st SC with a SS. (52 SC)

Ch1, then working around the previous row, SS into next blanket stitch space. *Ch 6, work a pompom into 3rd ch from hook. When pompom is complete, ch 3. Skip next blanket stitch space. SS into next blanket stitch space.* Repeat all the way around. Finish with a SS into the first SS. (13 pompoms)

Weave in the loose end and you’re done!
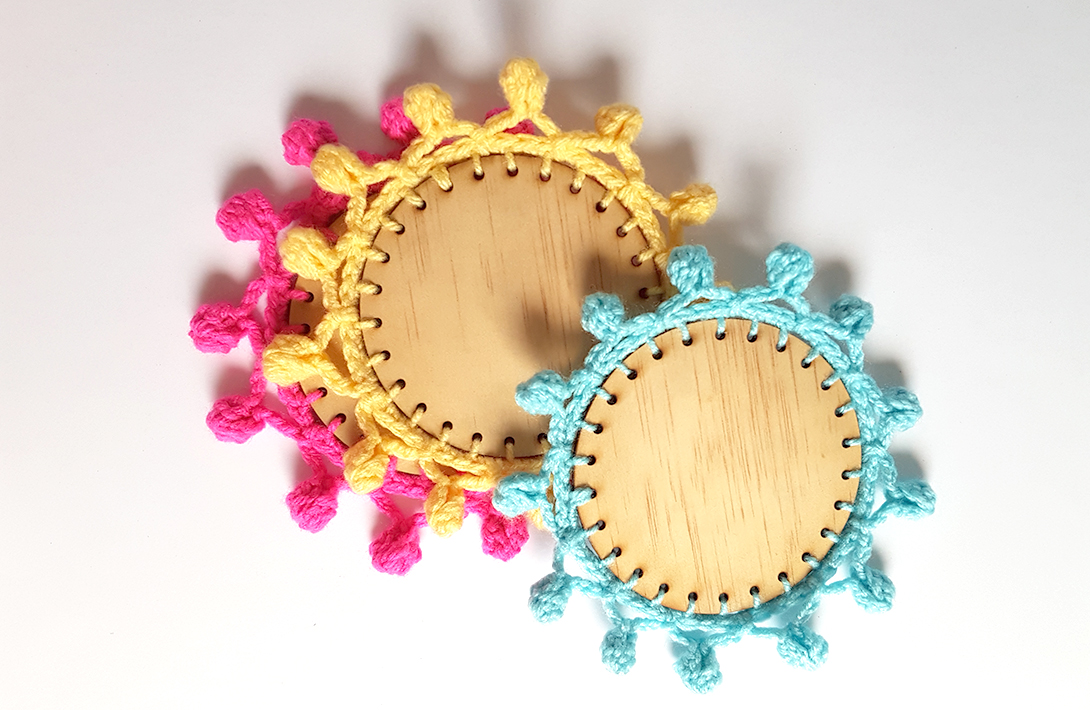
Aren’t they super pretty? Since this is my first market and I have no idea what to expect, I’m only making things that I would be happy to keep if they don’t sell – and I love these!
If you enjoyed this tutorial, remember to share it with your fellow crafters!
PIN IT!

Trabajo de hermoso contenido, admirable