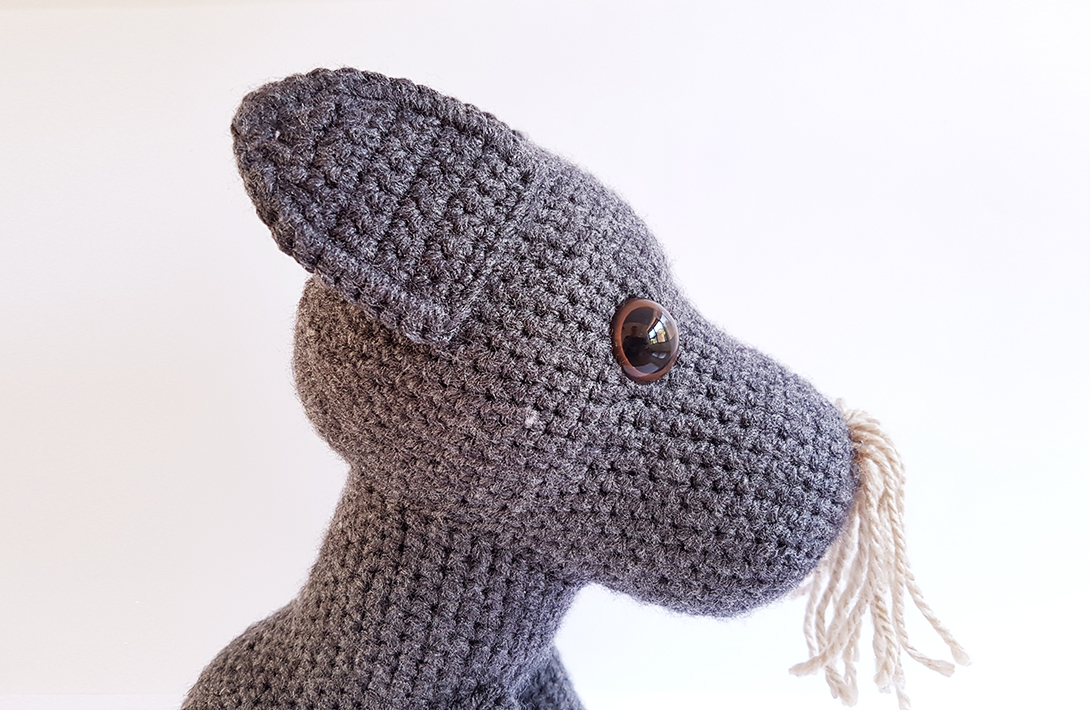
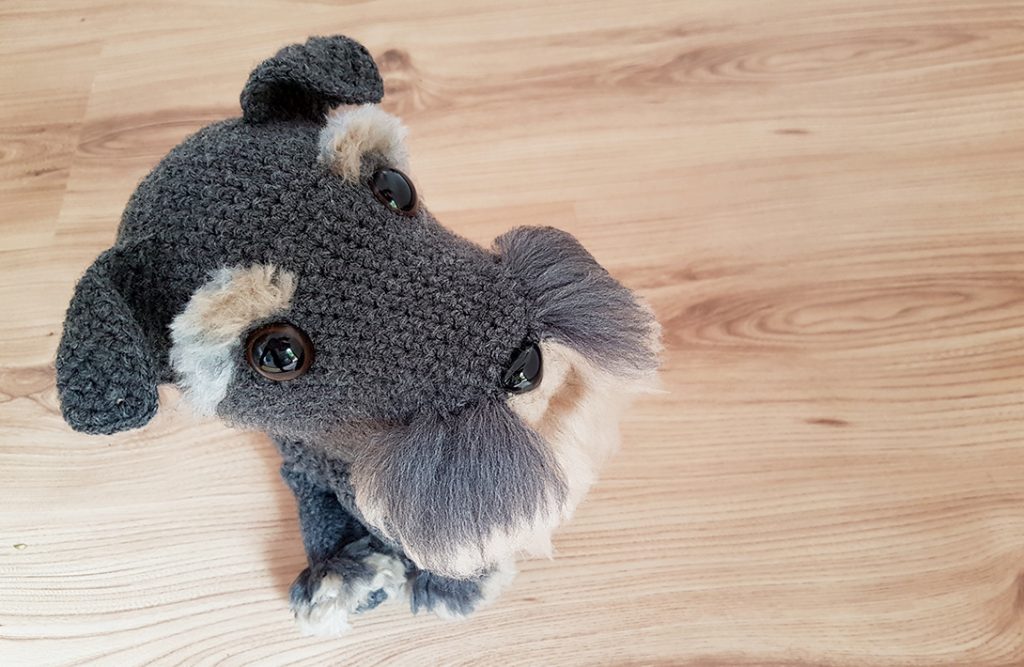
Meet Winchesterton the Third. He’s a Schnauzer dog.
This doggy wasn’t always this dapper looking, though. He went through an awkward phase while his fur was growing and all the other puppies laughed at him – but more on that later. For now I’ll ask you kindly not to stare, point, or make any hilarious – er, I mean inappropriate– remarks about his abnormal hair growth.
It would be insensitive, for example, to call him Spaghetti Snout, or Noodle Nose, and would probably him cry. Not that I would know, of course – I’m a nice person who definitely didn’t come up with those mean names.

INTRO
This is Part 1 of the pattern. This part will teach you how to make the dog’s body from start to finish, without any fur. Part 2 will be a tutorial on how to make and attach your very own handmade doggy fur, so keep an eye out for that! (Hit subscribe if you want an email notification!) UPDATE: Part 2 is live! Click here for Part 2.
UPDATE: This pattern is now available in Dutch, too! Click here for the translated version.
HOW CAN I POSSIBLY THANK YOU FOR THIS AMAZING PATTERN?
Winchesterton III’s pattern is totes free – yes, this is your lucky day! So pay it forward by sharing it with all your crochet buddies, comment to let me know how much you love it and how it was worth my while to bestow such a generous freebie on the crochet populace! XD If you find that you like my pattern writing style, you can support my dream and feed your passion with my Premium Patterns!

WHAT TYPE OF YARN SHOULD I USE?
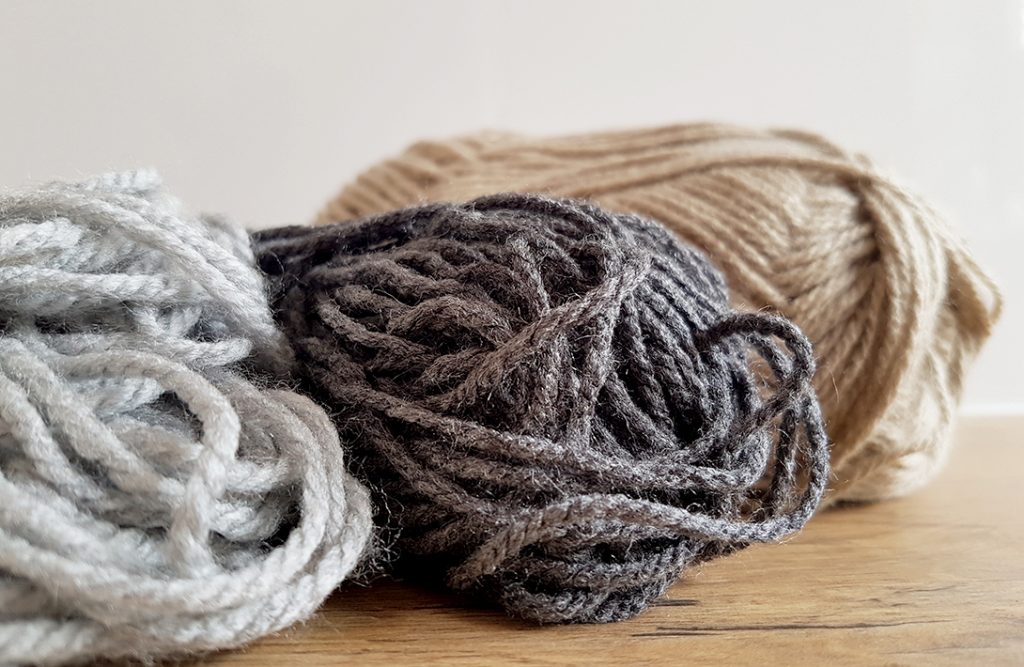
This is a very important point! You’ll be using some of the same yarn for your dog’s body and his fur, so make sure you start off with the right stuff! To make the fur, you’re going to be brushing the yarn out, so you need yarn that will turn fluffy when you brush it. So cotton or anything stringy wont work! If you unravel a thread of yarn and it separates into strings, it’s not going to turn into fur! You can test by brushing the very tip of a thread of yarn to see if it goes fluffy.
Read “PATTERN DETAILS” below for more info on yarn weight and brand!
YOUR CROCHETING IS SO NEAT! HOW DO YOU DO IT?
I know right – just try and spot my decreases! Can’t see them? That’s because I use the magical Invisible Decrease and other way cool tricks! You can learn all about the best decreasing method ever, and my other secret techniques at this blog post:

PATTERN DETAILS
SUPPLIES YOU’LL NEED
Yarn in main body colour (I used almost a whole 100g ball of Dark Grey)
Crochet Hook: 3mm (Size 11)
Yarn sewing needle
Sharp scissors
Safety eyes: 21mm
Safety nose: 18mm W x 15mm H
Stuffing
NOTE: in Part 2, you’ll need extra supplies for the fur, including:
Yarn in fur colours (I used less than a 100g ball of Light Grey and Beige)
Slicker brush AKA cat brush (one that hasn’t been used on real cats!)
Optional: Felting needle
CROCHET PATTERN INFORMATION
- Written in US terminology
- Difficulty: Easy – Intermediate. The body itself is easy, but the fur presents more of a challenge.
- Necessary Skills: The magic ring, working in the round (in a spiral) and the crochet stitches listed below in abbreviations. The pattern with teach you how to make the fur in Part 2.
- Yarn Weight: Double Knit (Light Worsted / 8ply/ 11wpi)
- Yarn Brand: I used a South African brand called Charity. I realize most of you aren’t in SA, so use any brand that will successfully produce fur, as described above in “WHAT TYPE OF YARN SHOULD I USE?”
- Gauge: Not critical with amigurumi. Using the suggested hook and yarn combo will make a dog about 25cm tall. Your tension should be tight enough to conceal the stuffing inside.
- Note: The dog’s entire body is inside-out! Turn all pieces inside-out before stuffing them. If you’re doing Invisible Decreases, make sure they’re also inside-out!
ABBREVIATIONS
- R = Row
- CH = Chain
- ST = Stitch
- SS = Slip stitch
- SC = Single crochet
- *…* = Section to be repeated
- Hk = hook
*
Let’s get started, shall we?
*
CROCHET INSTRUCTIONS
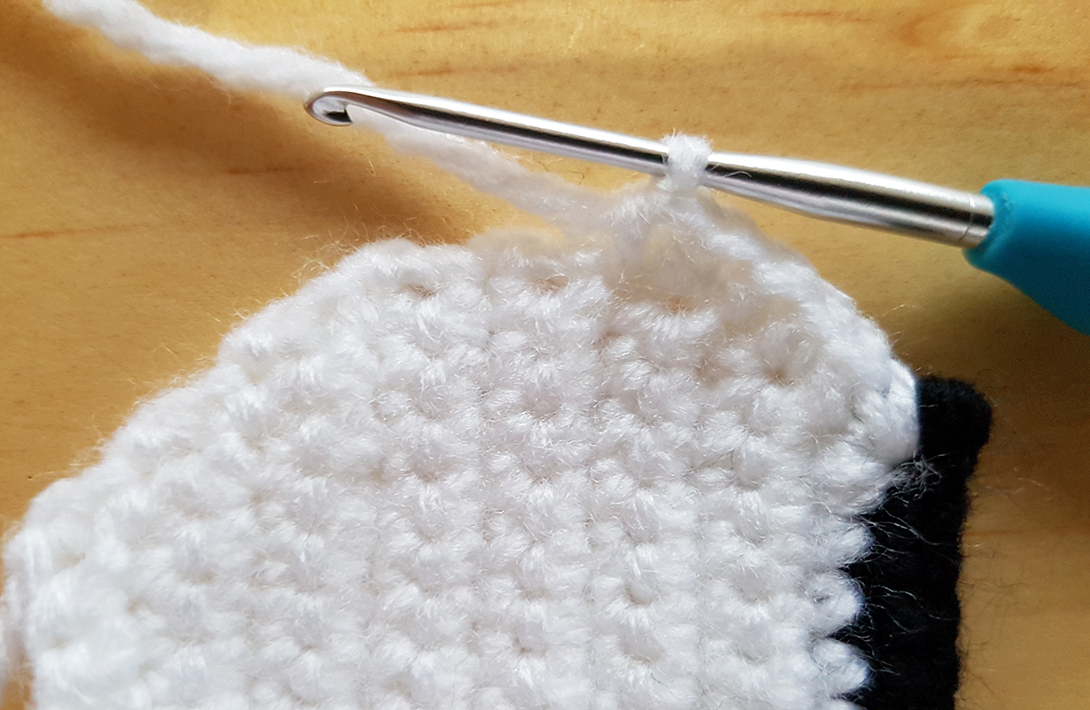
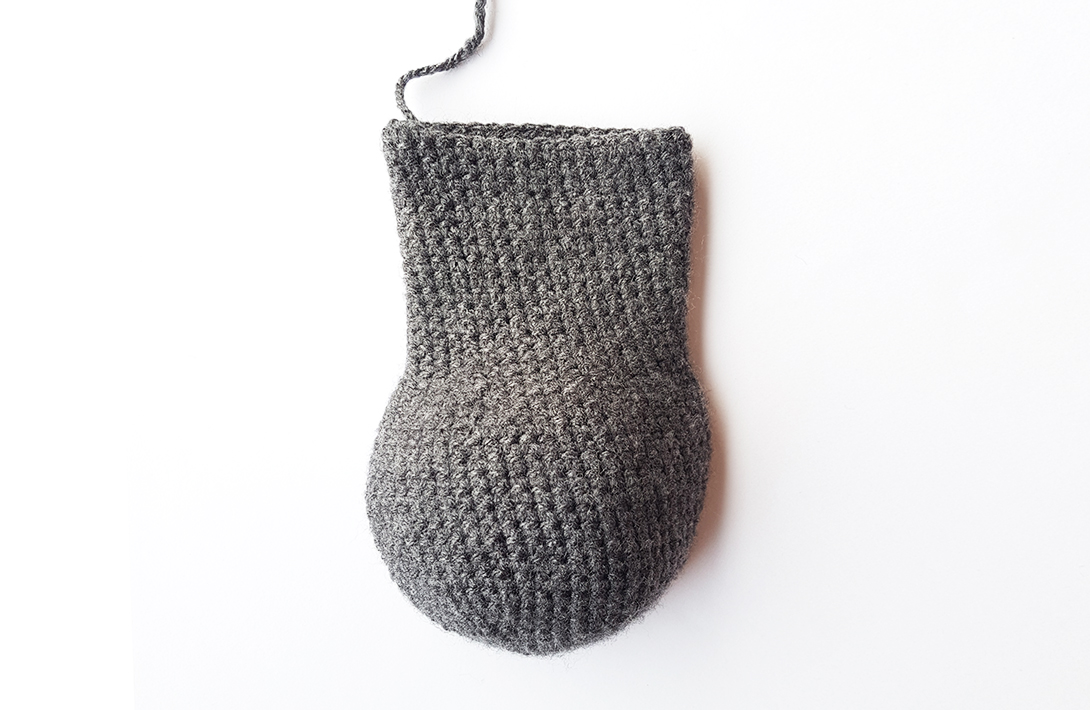
BODY
R1: 6 SC into a magic ring. (6)
R2: Continue working in the round. 2SC in each st around. (12)
R3: *SC in next st. 2SC in next st.* Repeat all around. (18)
R4: *SC in next 2 sts. 2SC in next st.* Repeat all around. (24)
R5: *SC in next 3 sts. 2SC in next st.* Repeat all around. (30)
R6: *SC in next 4 sts. 2SC in next st.* Repeat all around. (36)
R7: *SC in next 5 sts. 2SC in next st.* Repeat all around. (42)
R8: *SC in next 6 sts. 2SC in next st.* Repeat all around. (48)
R9-22: SC in each st around. (48)
R23: *SC in next 6 sts. SC next 2 sts together.* Repeat all around. (42)
R24: *SC in next 5 sts. SC next 2 sts together.* Repeat all around. (36)
Start stuffing the body firmly, and continue stuffing as you go.
R25-40: SC in each st around. (36)
Tie off, leaving a long thread for sewing body to head.
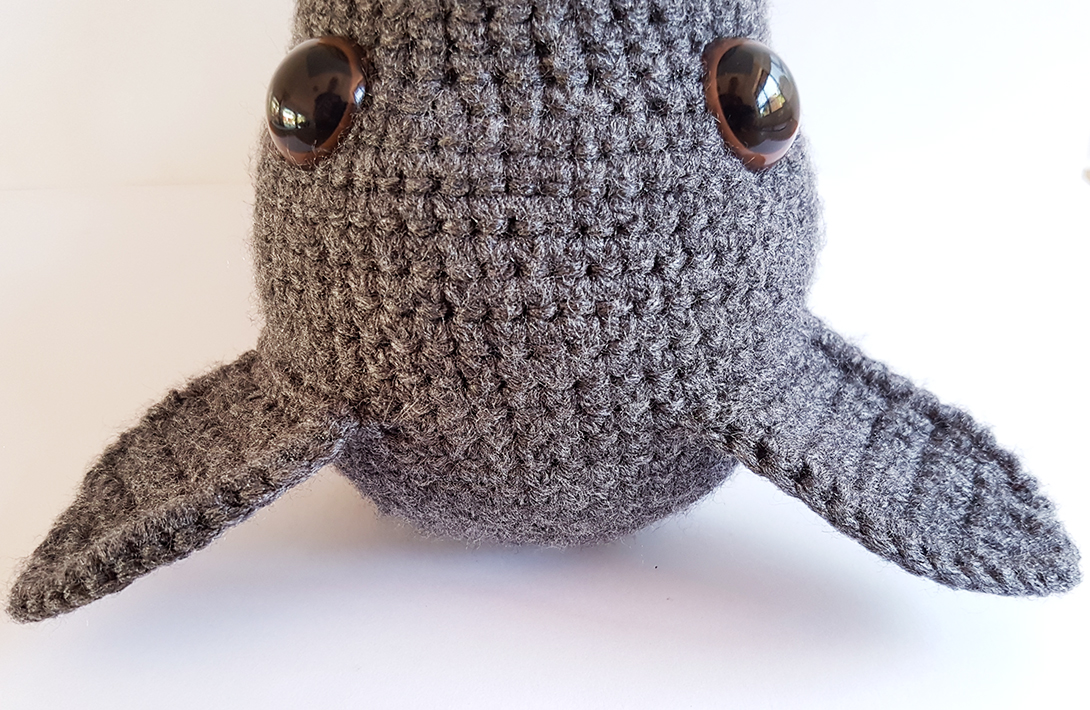
HEAD

Those rather silly looking tentacles around his nose? I put them there before attaching my safety nose because I was worried the nose’s backing would get in the way later and I wouldn’t be able to get my hook in there to attach fur. Turns out, it was unnecessary, so you don’t have to do it. We’ll get to the fur later, and for now we’ll politely ignore this incredibly silly snout.
R1: 6 SC into a magic ring. (6)
R2: Continue working in the round. 2SC in each st around. (12)
R3: *SC in next st. 2SC in next st.* Repeat all around. (18)
R4: *SC in next 2 sts. 2SC in next st.* Repeat all around. (24)
R5: *SC in next 3 sts. 2SC in next st.* Repeat all around. (30)
R6: *SC in next 4 sts. 2SC in next st.* Repeat all around. (36)
R7: *SC in next 5 sts. 2SC in next st.* Repeat all around. (42)
R8-19: SC in each st around. (42)
R20: *SC in next 2 sts. 2SC in next st.* 7 times. Mark the 14th st – this is the middle of the face. SC in each st remaining. (49)
R21: *SC in next 3 sts. 2SC in next st.* 7 times. SC in each st remaining. (56)
R22-33: SC in each st around. (56)
Attach the safety eyes and nose now.
Eyes: Position them on the face between R20-21. Leave 16sts open between the holes where the eyes are inserted.
Nose: Place it in the center of the face between R5-6.
Start stuffing the head and continue stuffing as you go.
R34: *SC in next 6 sts. SC next 2 sts together.* Repeat all around. (49)
R35: *SC in next 5 sts. SC next 2 sts together.* Repeat all around. (42)
R36: *SC in next 4 sts. SC next 2 sts together.* Repeat all around. (35)
R37: *SC in next 3 sts. SC next 2 sts together.* Repeat all around. (28)
R38: *SC in next 2 sts. SC next 2 sts together.* Repeat all around. (21)
R39: *SC in next st. SC next 2 sts together.* Repeat all around. (14)
R40: *SC next 2 sts together.* Repeat all around. (7)
Tie off and sew closed.
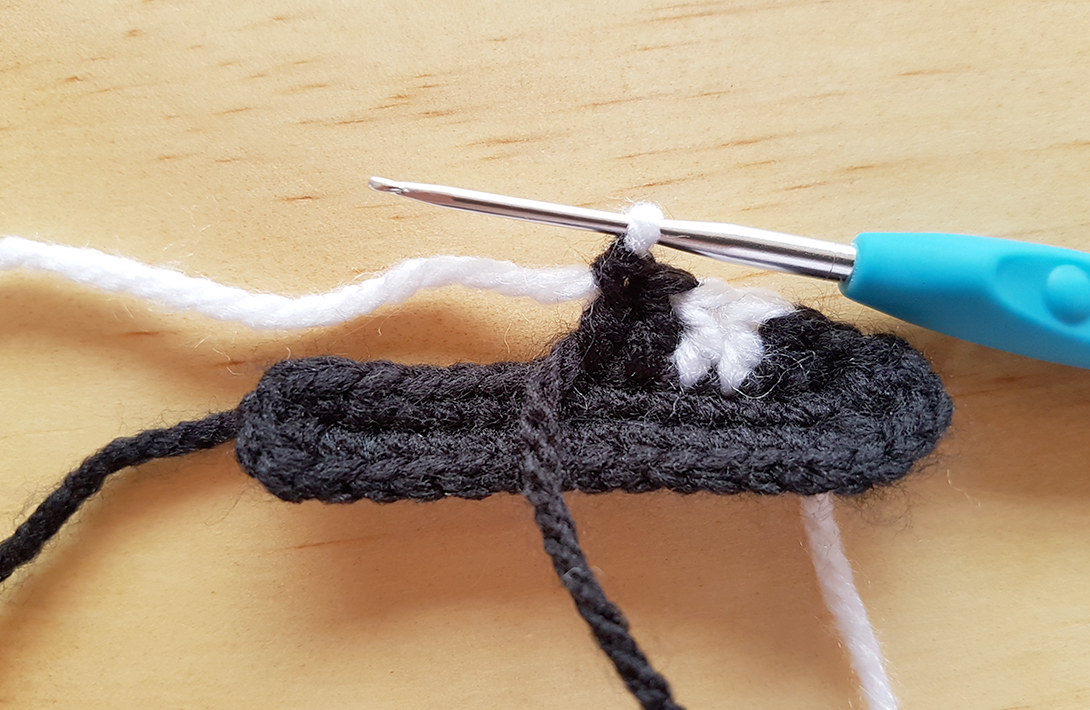
FRONT LEGS

R1: 6 SC into a magic ring. (6)
R2: Continue working in the round. 2SC in each st around. (12)
R3: *SC in next st. 2SC in next st.* Repeat all around. (18)
R4-23: SC in each st around. (18)
Tie off, leaving a long thread for sewing the leg closed and attaching it to the body.
Stuff the leg firmly until it is half full. Continue stuffing less firmly to taper the leg off as you fill it up, ending with almost no stuffing at the opening.
Sew the leg closed.
Make 2.
BACK LEGS
R1: 6 SC into a magic ring. (6)
R2: Continue working in the round. 2SC in each st around. (12)
R3: *SC in next st. 2SC in next st.* Repeat all around. (18)
R4-19: SC in each st around. (18)
Tie off, leaving a long thread for sewing the leg closed and attaching it to the body.
Stuff the leg firmly until it is half full. Continue stuffing less firmly to taper the leg off as you fill it up, ending with almost no stuffing at the opening.
Sew the leg closed.
Make 2.
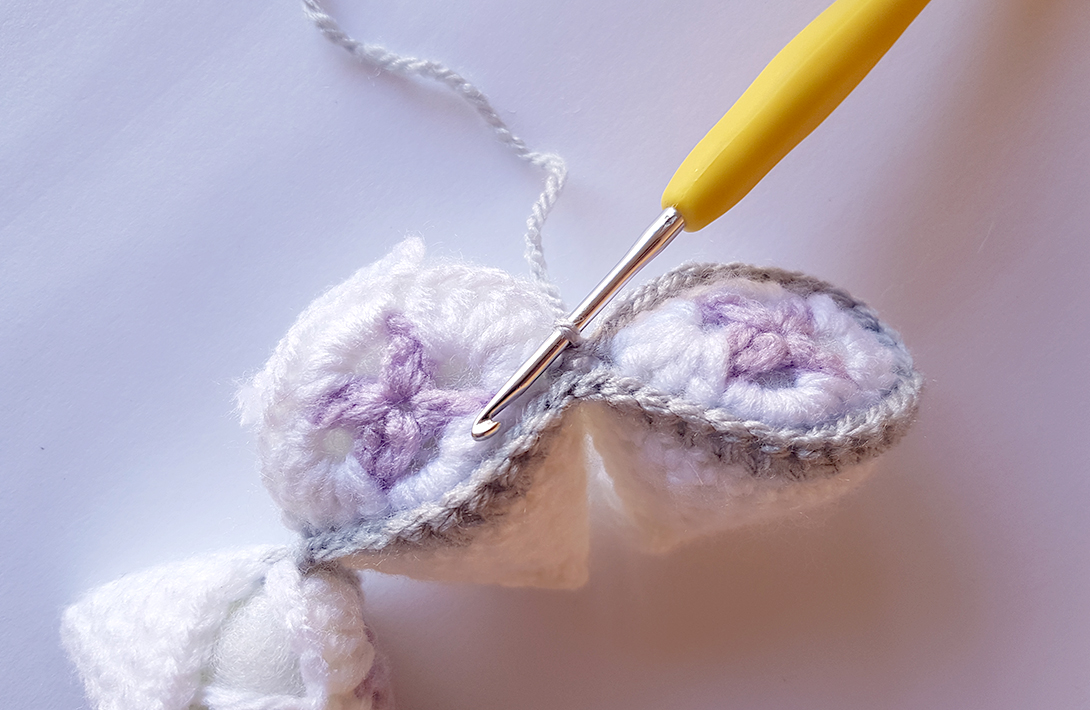
EARS
R1: Ch9. SC in 2nd ch from hk. SC in each ch. Ch1, turn. (8)
R2-7: SC in each st across. Ch1, turn. (8)
R8: SC 1st 2 sts together. SC in next 4 sts. SC last 2 sts together. Ch1, turn. (6)
R9: SC 1st 2 sts together. SC in next 2 sts. SC last 2 sts together. Ch1, turn. (4)
R10: SC 1st 2 sts together. SC last 2 sts together. Ch1, turn. (2)
R11: SC 2 sts together. Tie off.

SC around the edge of the ear: Starting at the 1st ch, insert hook and join yarn with a SS. Work the tail in as you proceed. SC in same st. Crocheting evenly into the free edge of the ear, work 12 SC up the side. Once you reach the tip (R11), work 2SC into the st. Crocheting evenly into the free edge again, work 12 SC down the other side of the ear. Leave the 3rd free edge un-worked. Tie off, leaving a long thread for sewing ear to head.
Make 2 ears the same.
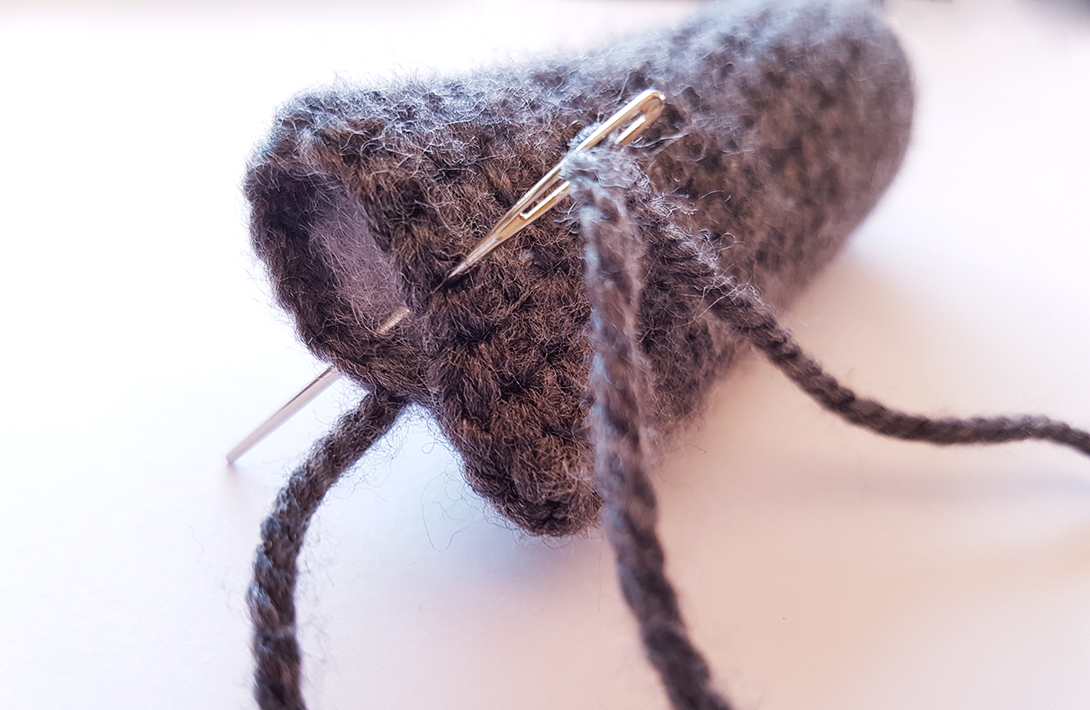
TAIL
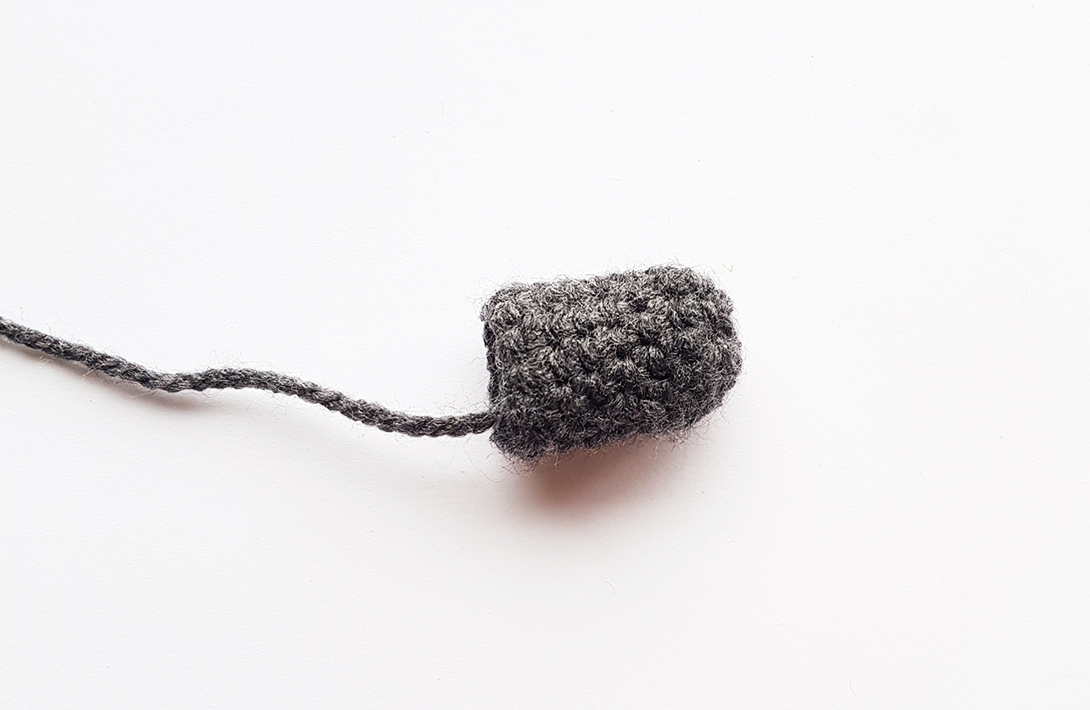
R1: 6 SC into a magic ring. (6)
R2: Continue working in the round. 2SC in each st around. (12)
R3-8: SC in each st around. (12)
Tie off, leaving a long thread for sewing tail to body.
Stuff firmly.
*
Well done – you’ve finished making all the pieces! Time to start assembling everything….
*
ASSEMBLY INSTRUCTIONS
Note that the limbs and head don’t need to be sewn in the exact same position as stated below. Try pinning your dog together and adjust the features according the the type of character you want to create.
FRONT LEGS

Start with the front legs. Position them on the body at roughly a 45 degree angle between R25-31. Between the highest points, leave 6 sts open across the chest, between the legs.
Sew the legs in place along the edge that you previously sewed closed.
BACK LEGS

Sit the body up, allowing the front legs to support it as they will when the dog is finished. This will help you position the back legs. They should be flush with the ground.
Place them on either side of the body, with the ends aligned with the center of the body and spanning across R7-15. At the highest points there should be 23 sts between the legs, across the dog’s back; and 22 sts between the lowest points.
Sew the legs in place along the edge that you previously sewed closed. Then, sew the last 5 Rounds of the leg to the body as well, along the fold line created.
HEAD

Count 12 Rs from the back of the head, and pin the opening of the back of the neck here.
Count 14 Rs from the front of the head, and pin the opening of the front of the neck here.
Pin all around evenly, checking that the head is facing the desired direction, then sew in place.
EARS
Position the ears at R11 (counting from the back of the head).
Leave a gap of 7 sts open between them.
Lay the ears flat on the head, pointing towards the back of the head as pictured (without giggling at his abnormal hair growth), and then sew along the free edge where your starting chain is, to attach them.

They can now be posed as desired.
TAIL
Attach across R4-9, in the center of the body.

*
Congratulations – your pup has a finished body! Let’s get together again next Monday for the exciting FUR TUTORIAL!
Edit: Part 2 is now live! Click here.
*

I would love to see how your dapper doggies come out – tag me @Projectarian with your #WinchestertonTheThird photos, or post a pic in our little Facebook group!
Remember to share this post with your fellow crocheters, and subscribe so you don’t miss out on future Projects!
~ https://www.projectarian.com/wp-content/uploads/2017/03/27-1.jpg
COPYRIGHT & SHARING
Although this pattern is free for you to use, direct copying is strictly prohibited.
If you would like to share the pattern, please Pin it, or share this page’s link.
You may only share ONE image of the dog from this post.
If you share this pattern, you must add this page’s link.
You are welcome to sell any physical item you make with this pattern.
PIN IT!


 Personally, this type of hat is so far from my usual style of work and I wouldn’t normally make anything like it, but a few years ago when I had just learned to crochet and started making baby clothes for my friends, I got the odd request for things like this. So when somebody asked for a set of cowboy boots and a hat for their baby’s photo shoot, I went ahead and made it, took a photo, and posted it on